How to Record Yoga Classes at Home Without Fancy Equipment
Merilin Vrachovska-Gilchrist
· 9 min read
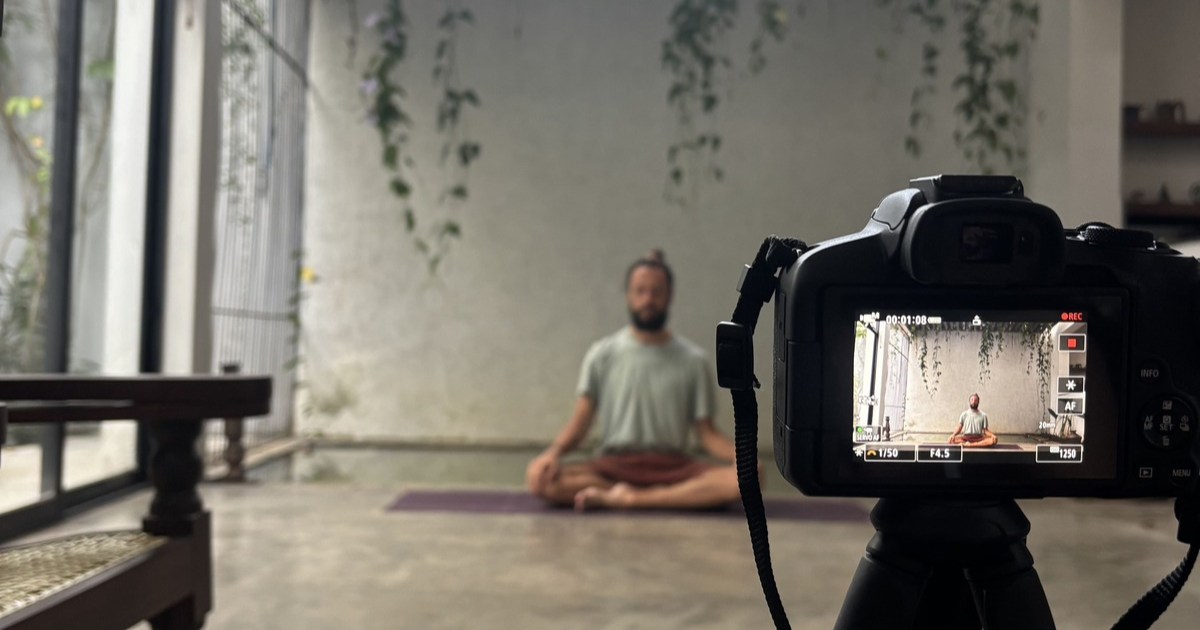
Recording yoga classes can feel intimidating. You have to talk to a phone for 30 or more minutes, pretending there’s someone there, make sure the image looks fine, that the sound is good enough, and that the background does not include that one chair that acts like a temporary wardrobe from time to time.
It feels like a lot, especially if you’ve never done it before, so I get it. Like starting with anything new, you may have many questions.
But I’m here to tell you that starting to record yoga classes at home can be much easier than you think, and in this article, I’ll share with you all of my tips and secrets that will make the whole process much easier!
What you actually need
Here are the things you’ll need:
- A phone. I use an iPhone 15, but any phone from the last 5-6 years has a camera that is good enough for this.
- A small microphone. This is the one thing I recommend you buy, and you can get one for around 20 euros (more on that in the sound part).
- A window. Ideally, we need natural light.
- Something to hold the phone still. A tripod is nice, and very cheap to get, but a stack of books or a chair will do the job too.
- A room or space where you can be left alone for at least 30-40 minutes.
What about a proper camera…?
I started with my phone and only upgraded to a camera after a while. However, there’s no need for a camera when you’re starting out, a phone will do more than enough.
Camera files are also much bigger and take longer to upload, so my iPhone videos are often easier to work with anyway.
Set up your space
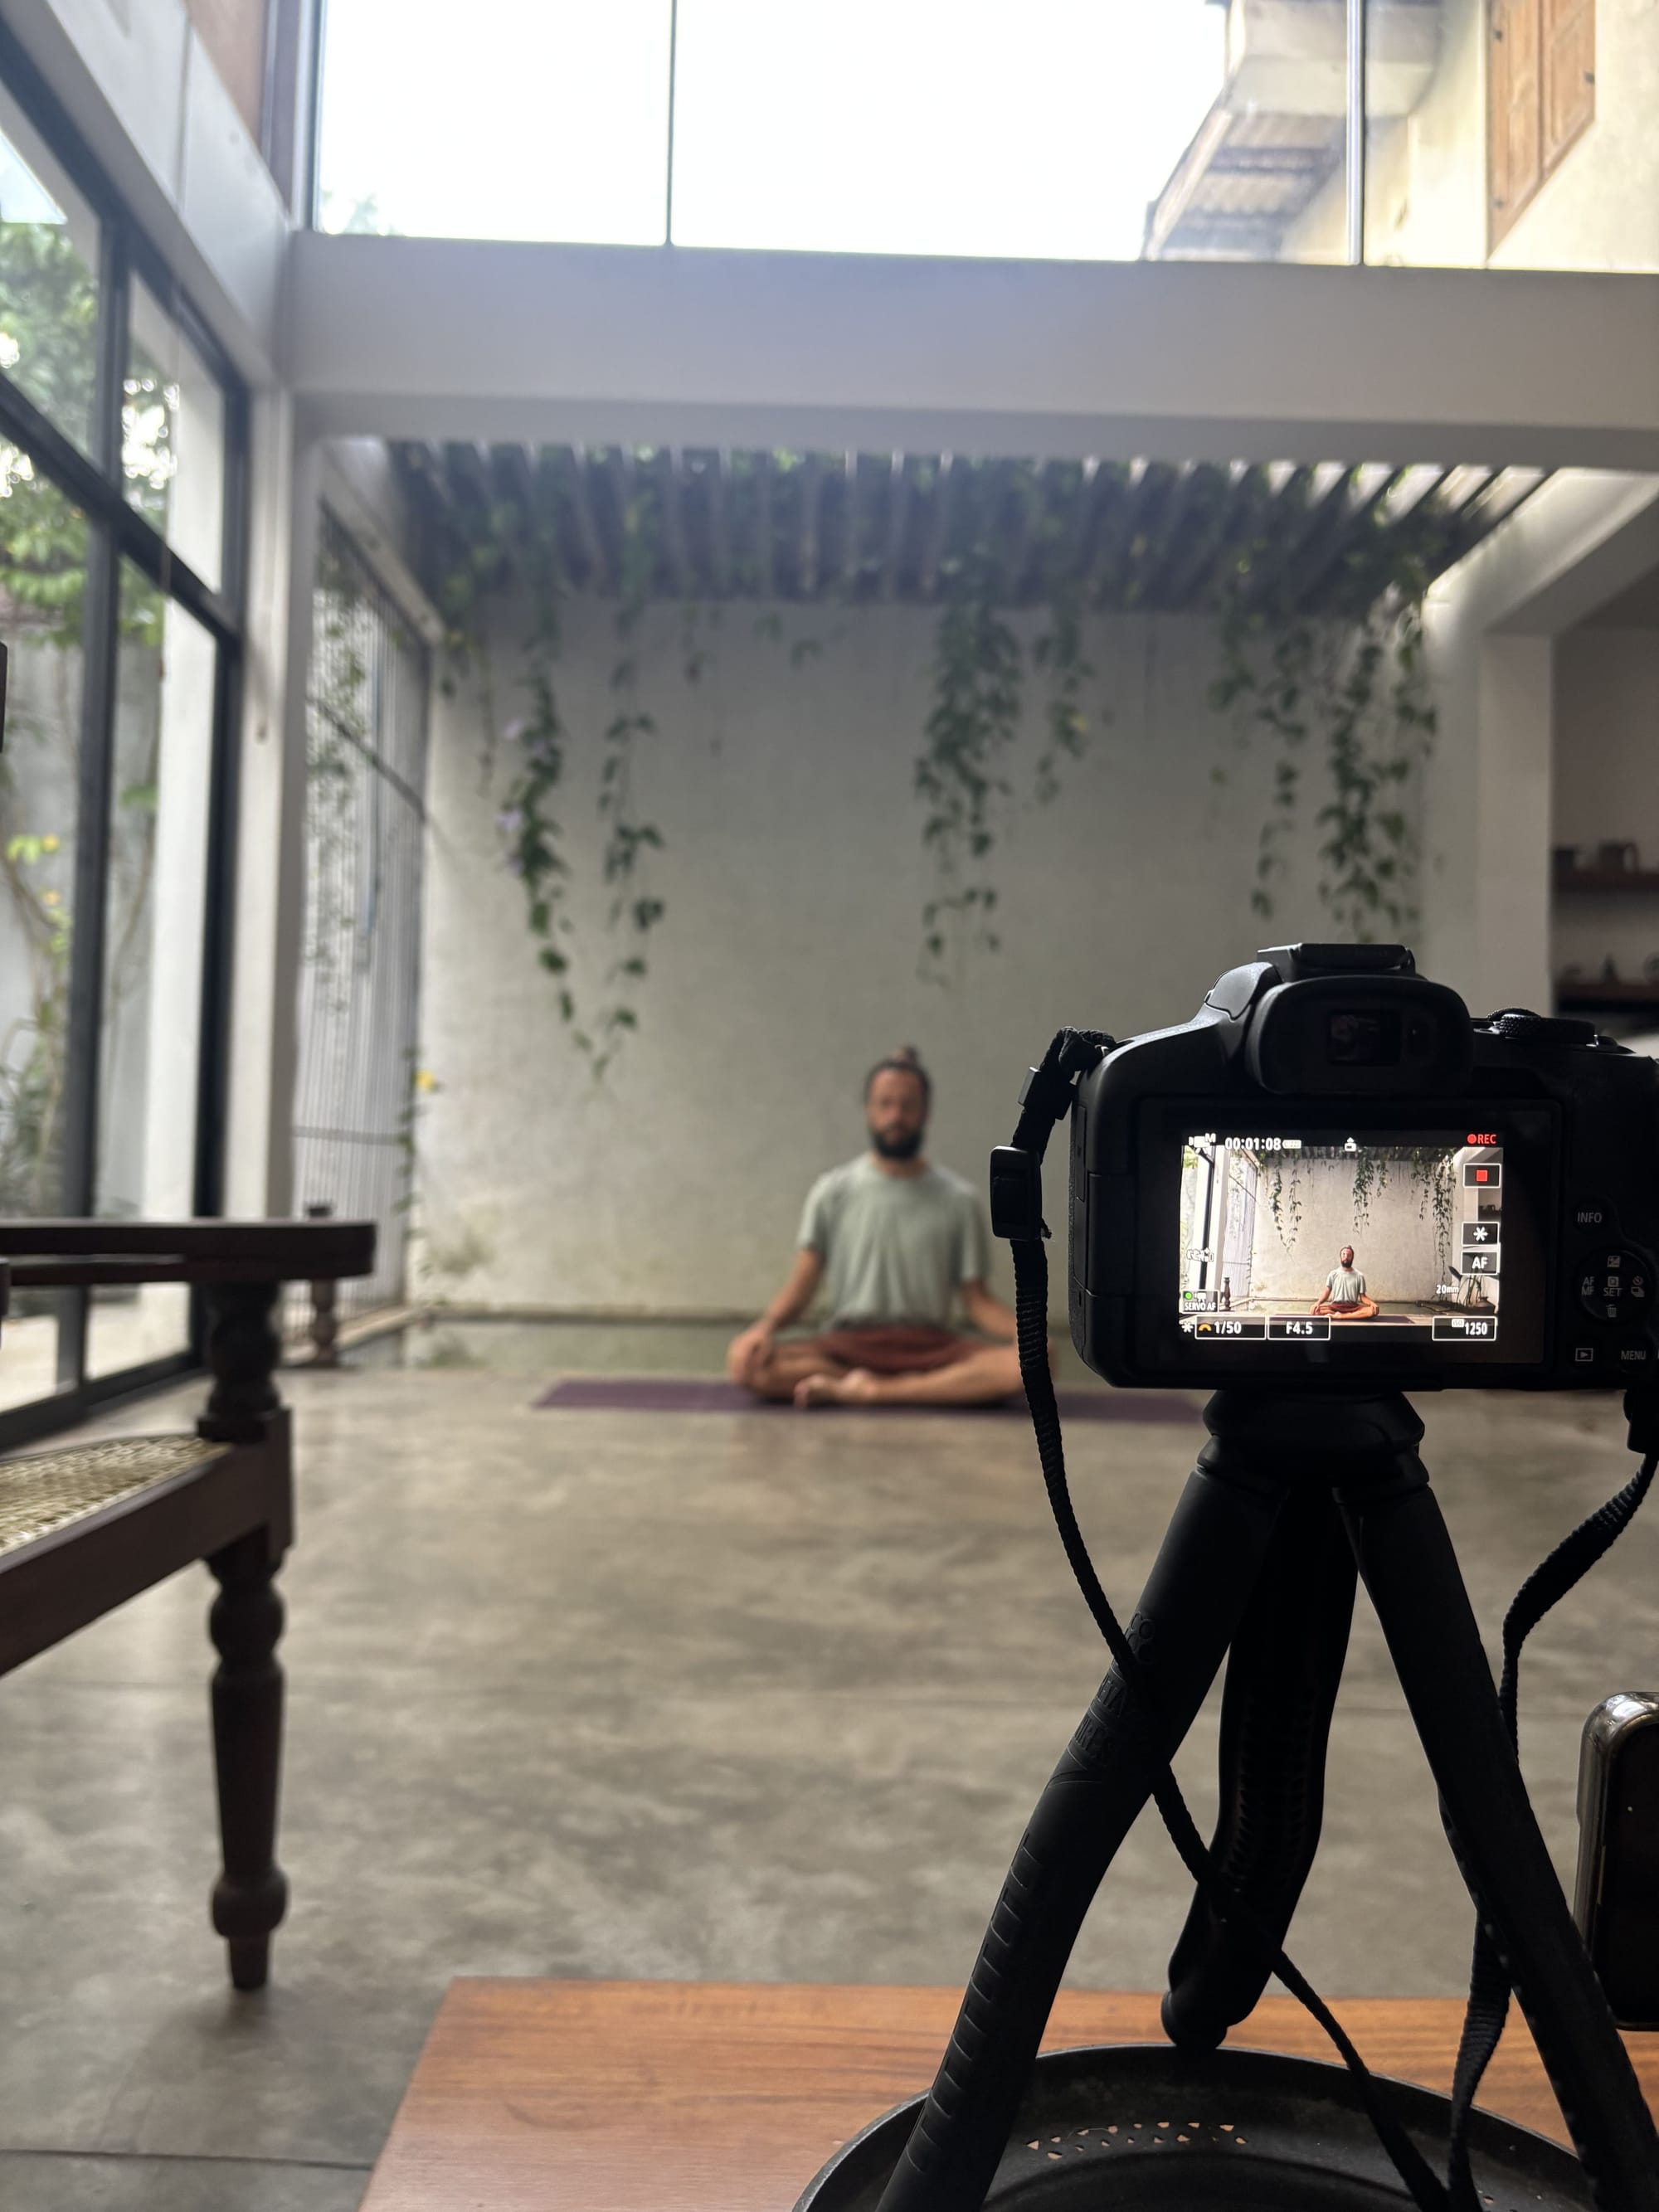
You don’t need an outstanding space, but it needs to be cosy and calm enough, since it's what your students will be looking at. Make sure there isn’t any clutter, cables sticking out, or mirrors reflecting (the possible) mess across the room.
A plain wall, a plant or two, and your mat will be more than enough. Just make sure to be wearing something that isn’t the same color as the wall, so it doesn’t look like you’re a floating head, matching completely with the background behind.
Check you have enough room too. Stand on the mat and reach your arms up, then lie down and take your arms and legs out wide. If half your arms or legs are cut off, move the phone/camera a bit further out.
Light
For me the key is always light, and natural light always beats anything else. I have a huge window at home and I always film near it.
The thing to get right is where you place yourself compared to the window. You want to be facing the light, or have it coming from one side, with the phone looking at you. In my case it comes from the side, and that works great.
Just don’t put the phone so the window is behind you. The light behind you is too often bright, so you come out dark and hard to see. If the only spot for your mat has the window behind it, try closing the curtain and turning the room lights on.
A few other things that help:
- Soft light is kinder than direct sun. If the sun is pouring straight onto your mat, a thin white curtain softens it, or you can film at a different time of day.
- The light changes while you film. A cloudy day is easier than a sunny one, because the sun moves and the light on you keeps changing.
- If you film in the evening, turn on all the lamps you have and point one or two at you.
Sound
While the light is important, I think sound matters more than the picture. More often than not, students spend a lot of the class not looking at the screen at all times, e.g. in a forward fold, in a twist, when their eyes are closed, and so on, so your voice is how they follow you.
So getting a microphone is non-negotiable, and it's the only thing in this whole post I'd really recommend you to buy. It doesn't have to be a fancy one, there are small clip-on ones for around 20 euros that connect to your phone, and your voice comes out close and clear even when the phone is a few metres away.
I can recommend the DJI Mic Mini with one mic and one receiver (around 59 dollars). It comes with an adapter for phones with a USB-C plug. If you want to spend less, there are cheaper no-brand clip-on mics too. I recommend the DJI since I know it's good as I have the two-mic kit version and I’m super happy with it.
You can use it in two ways. You either record your voice on the spot while you teach the class, or you film the class and add a voiceover afterwards. I've been doing the voiceover thing and it takes much longer (you film the class, and then you sit down and talk through all of it again).
So if you want to be more efficient, record your voice on the spot. You may need a few tries where the result isn't as "perfect" as you'd like, but it's good to get comfy with that.
A few small things help whichever way you go:
- Close the windows and turn off anything that hums, like the washing machine or a fan. You stop hearing those after a while but the microphone doesn't.
- A room with soft things in it (rugs, curtains, a sofa) echoes less than an empty one with a wooden floor.
- Speak a little slower than you would in a studio.
One more thing to mention here is music. Playing your favourite playlist in the background while you film is tempting, but that music is copyrighted, so it can get a video muted or taken down on some platforms.
Plus, it also makes your voice harder to hear. Teach without it, or add music afterwards that you have a licence for and make sure you lower it enough.
Where to put the phone
Turn the phone sideways (horizontal) for a full class. A mat is long and thin, and a horizontal frame fits all of it with you lying down, which a vertical frame can't do unless the phone is very far away.
Vertical is fine for short clips for Instagram, so if you want both, film those separately.
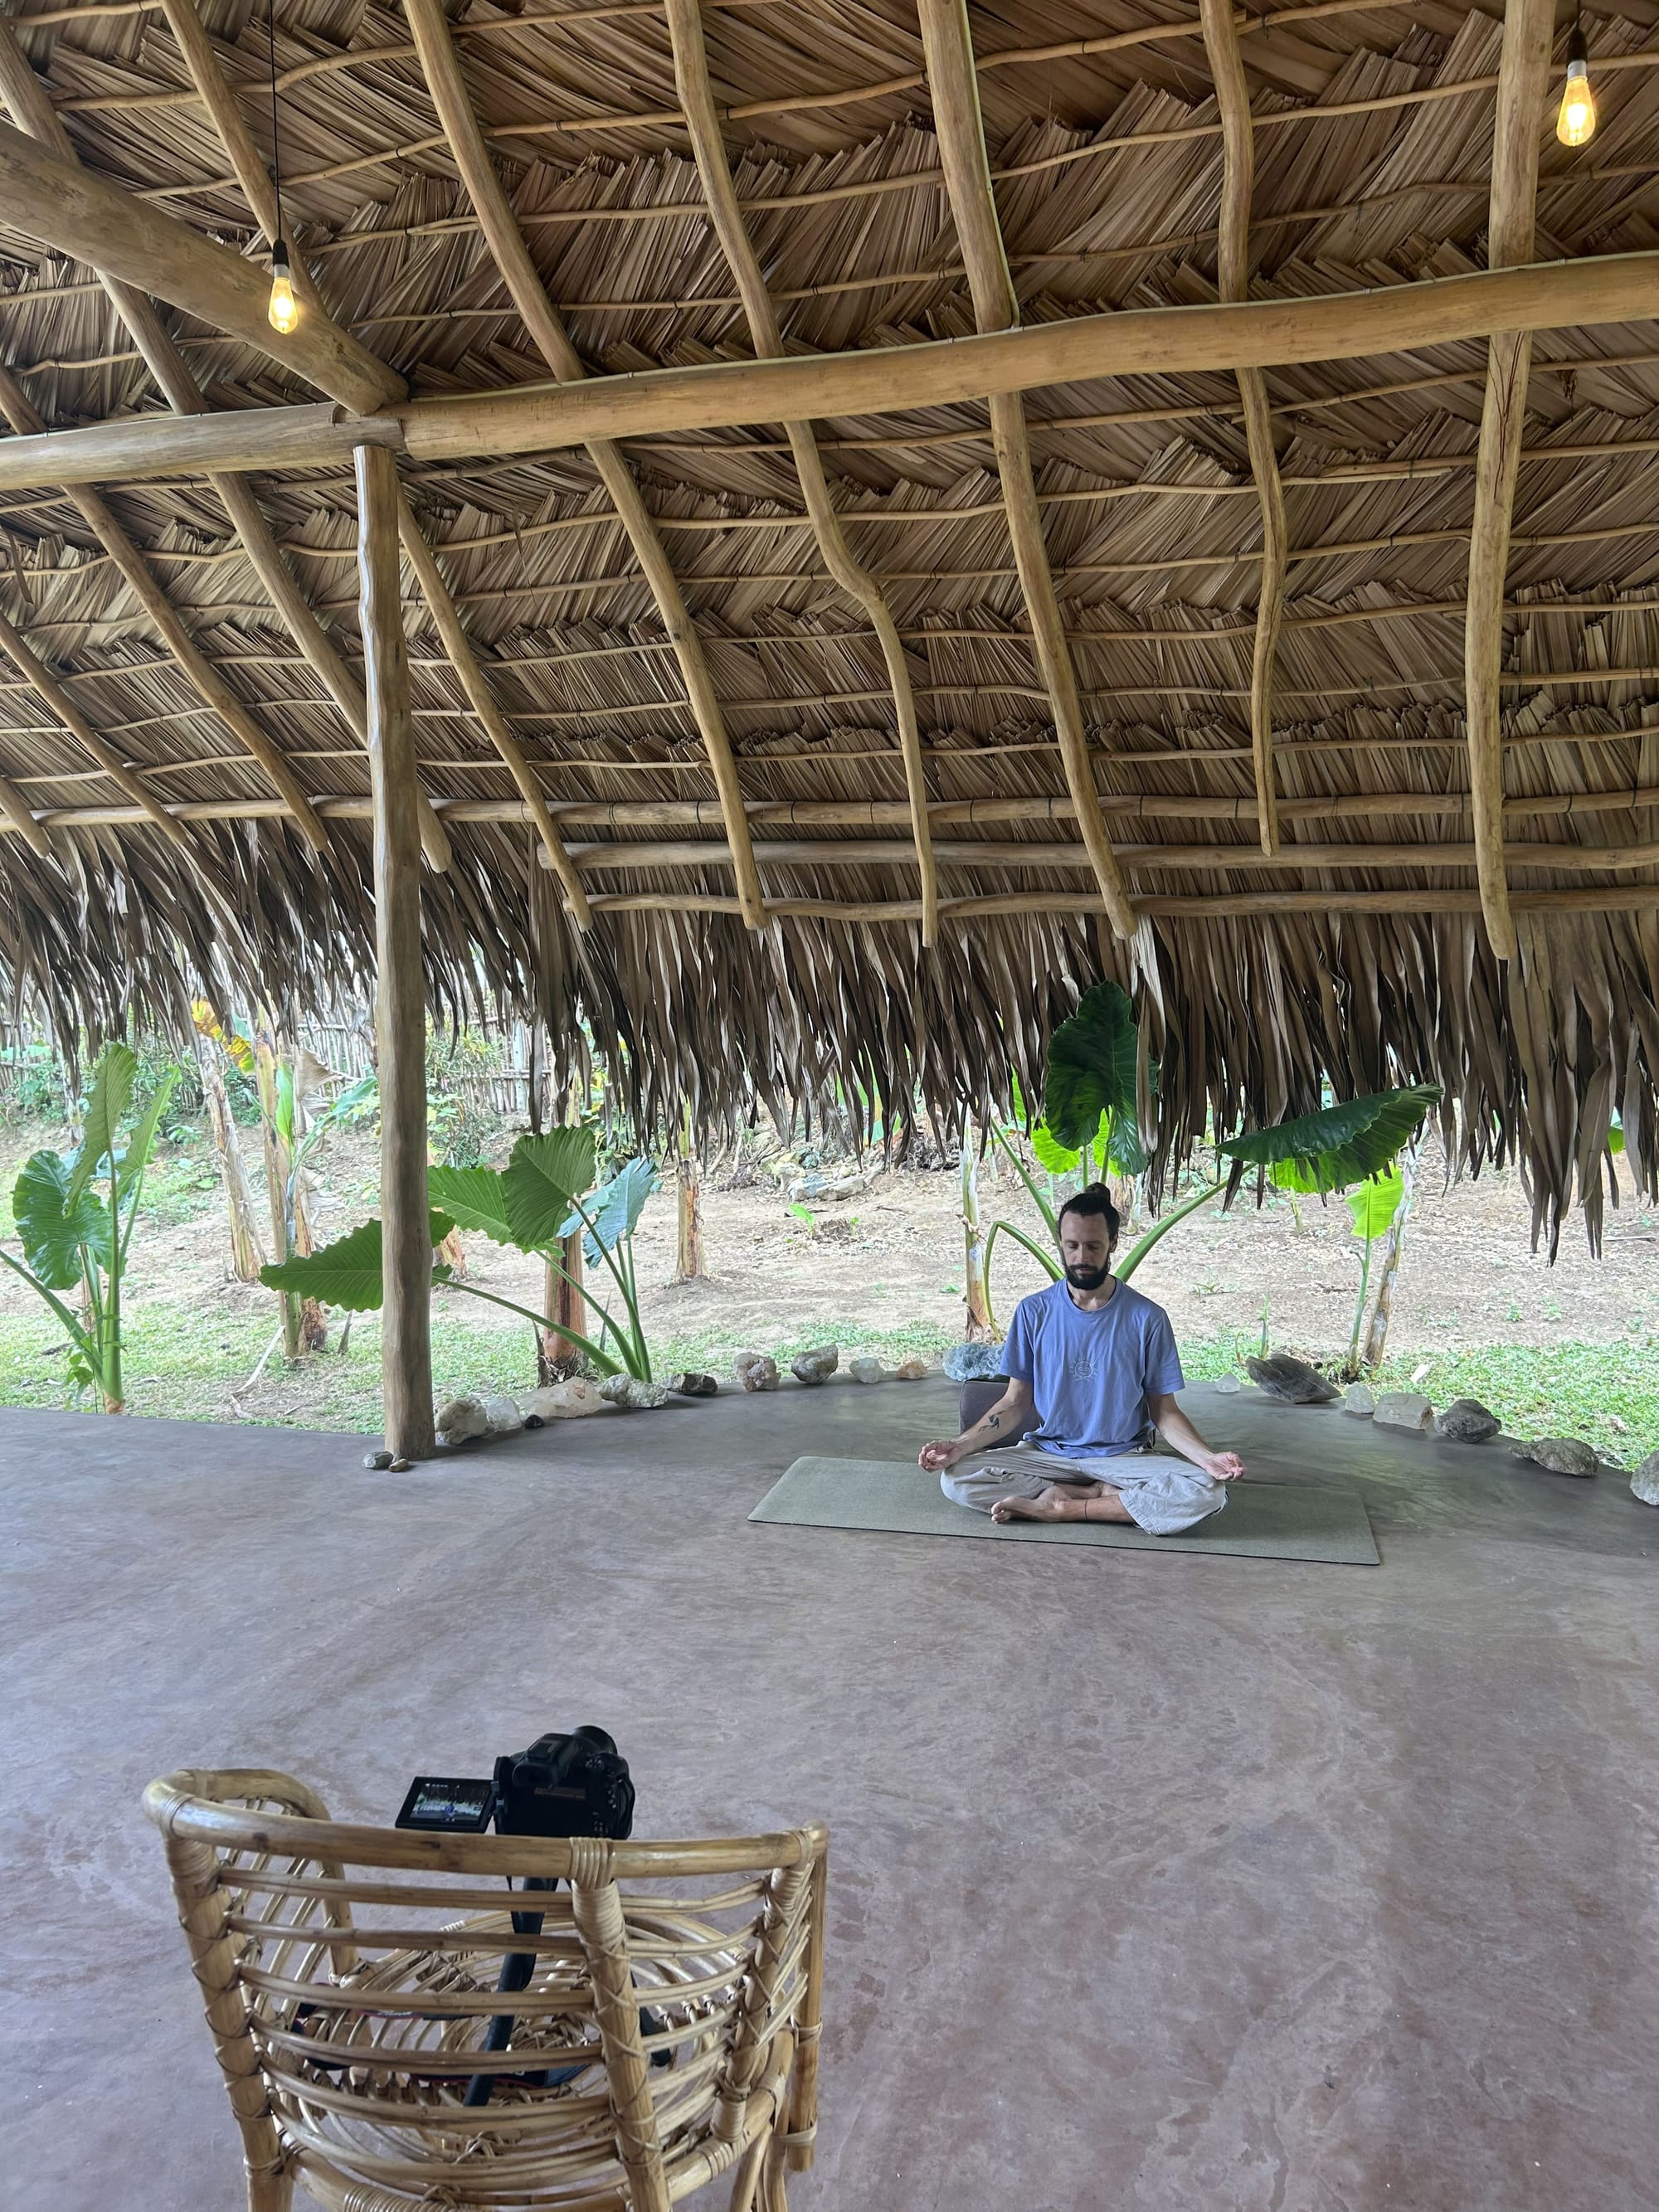
Put the phone beside your mat, a few steps back, so it sees the whole mat from one end to the other. You can stand it on a tripod, a stack of books, or even a chair.
Even though you can’t see yourself, use the back camera, it's better than the selfie one. To test, film ten seconds, go and check how it looks, adjust if needed, and do it again, until you get it right.
Before you hit record
Do these quick checks before you start, so you don't teach a great 60 minutes and then find out the phone stopped recording at minute 12 (been there, done that - it's not fun!):
- Storage. The longer the video, the bigger the file will be. An hour in HD can take roughly 4 to 8 GB depending on your phone and settings, so check you have the room.
- Battery. Plug the phone in if possible, or start with it nearly full.
- Do not disturb. Switch on airplane mode or do not disturb. A phone call can interrupt the recording, and notification sounds can end up in your class.
- Settings. 1080p HD at 30 frames per second is plenty, or you can even go with 4K, just keep in mind that the files will be bigger and a bit slower to upload.
- Lens. Wipe it before starting to record. It sounds silly but it fixes more "blurry" videos than any setting does.
- Test. Film one minute and watch it back with the sound on. Can you hear yourself, see your whole body, and is the light okay?
Teaching to a phone
It may feel slightly off at first, teaching to "nobody", with just a phone in front of you. But it gets easier and you simply get used to it. My trick is not very clever, I just imagine there are people there.
Keep the first one short. A 15 or 20 minute class is less to plan and less to film again if something goes wrong, and it's a length a lot of students at home like anyway.
Cue with words more than you normally would. In a studio you can demonstrate and walk around, and people copy the person next to them, but at home your student is alone and often not looking at the screen. Say left and right clearly, say where the hands and feet go, and give them a moment to get there before you move on.
Start with a short, friendly intro, telling people roughly what you're going to do, how hard the class is, and whether they need any props. If they do, give them options they'll have at home, like a cushion or a couple of thick books instead of a block, or a scarf or belt instead of a strap.
And leave the small mistakes in. If you mix up left and right, laugh and correct it, the same as you would in a room full of people. If the dog walks through or the doorbell rings, pause, sort it out and carry on, and cut that bit out afterwards. Students who look for independent teachers are usually looking for a real person, and a class that is a bit rough around the edges is worth a lot more than a ‘perfect’ one.
Editing
For a normal class you only need to cut two things: the bit at the start where you walk from the phone to the mat and the bit at the end where you walk back. You can do that in the photos app on your phone without downloading anything. Open the video, tap edit, drag the two ends in and save.
For anything more than that (cutting something out of the middle, adding a title, or a voiceover) you need an editing app. I use DaVinci Resolve now but I started with Filmora, and there are other easy ones like iMovie or CapCut. Just don't let editing become the reason the class sits on your phone for months. (speaking from experience here)
Where the class goes next
A recorded class is only useful once students can find it, and this is where a lot of teachers end up with videos scattered around.
This is one of the things Happy Yogi is for. On your teacher profile you can share your video classes next to the in-person and online sessions you teach, so everything you teach lives in one place.
On Happy Yogi you can:
- Make your own teacher profile, with everything you teach in one place
- Share your video classes, for free or as paid collections
- List your in-person and online sessions, so students always know where to find you
- Post updates, like a new workshop or a change in your schedule
Happy Yogi is free for teachers, and it always will be. You can upload free classes or paid collections of videos, and there's more on the way, like memberships. So the classes you add now are also the start of a library your students can support you through.
Recording takes some pressure off your week as well. A class you film once can be practised a hundred times.
If you are teaching a lot and feeling it, doing more of your teaching online can be a huge relief. Here's our post on yoga teacher burnout if you want to read more about that.
Your filming checklist
Here’s something you can run through the next time you film. It takes a few minutes and saves you from annoying mistakes:
Your space
- Mat down, with enough room to reach your arms up and stretch out wide
- Nothing too distracting in the background or near you
- Clothes that stand out from your floor and wall
Light
- Window in front of you or to the side, never behind you
- If filming in the evening, turn on your lamps and point one or two at you
Phone
- Turned sideways, beside your mat, a few steps back, so it sees the whole mat
- Back camera on, then film ten seconds and check you fit in the frame standing and lying down
- Enough storage and battery, and do not disturb on
- Lens wiped
Sound
- Mic clipped on and connected
- Windows closed, washing machine and fan off, no music playing
- A one-minute test, watched back with the sound on
Teaching
- A 30 or so second intro: what you'll do, how hard it is, which props they may need, etc.
- Clear left and right cues
- Small mistakes stay in, just laugh and carry on
After
- Trim the start and the end
- Upload it to your Happy Yogi profile
If you’re still doubting, the only advice I’d like to give you is this:
just start. Don't overcomplicate things, it doesn't have to be perfect, and the main goal right now is to begin building something your students can come back to anytime.